Installing MediaMonkey
Help > Getting Started > Installing MediaMonkey
Downloading
You can always download the latest version of MediaMonkey from the Download page. This is for both Gold License and Free version users.
- Latest stable release: http://www.mediamonkey.com/download/
- Latest beta release (when available): http://www.mediamonkey.com/forum/viewforum.php?f=6
- Debug version: http://www.mediamonkey.com/forum/viewtopic.php?f=7&t=69
- Old versions: http://www.mediamonkey.com/support/index.php?_m=downloads&_a=view&parentcategoryid=2&pcid=0&nav=0
Installing
After downloading MediaMonkey double click on the downloaded installer to start the install process. This process is the same for a first time install or for installing an upgrade.
Setup Wizard steps:
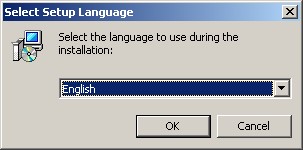
- Language, after starting installation the first window will ask what language should be used.
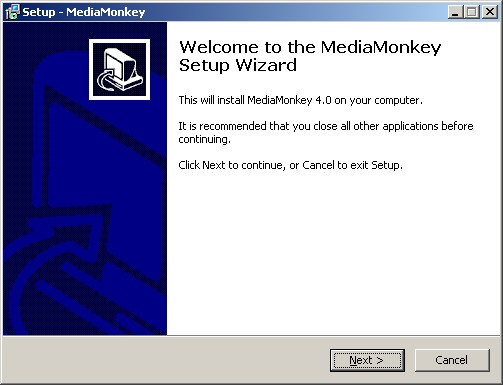
Installation step 1 - The next window will welcome you to the Setup Wizard.
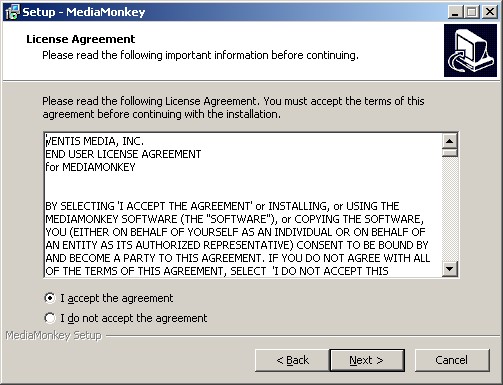
Installation step 2 - License Agreement, read and select I to continue.
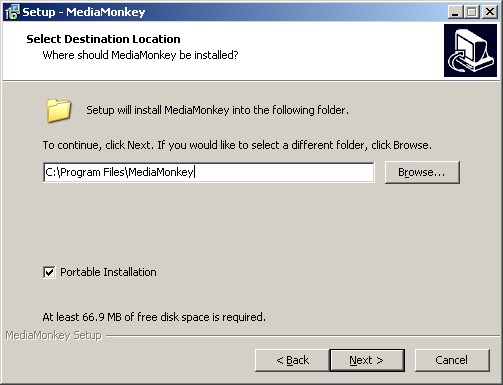
Installation step 3 - Destination Folder, allows you to choose to do a Portable Install instead of a regular install and define in which folder MediaMonkey should be installed.
- Portable Install will keep all MediaMonkey's files including the registry, settings, database, Virtual CD, Previews and Cache folders in the MediaMonkey install folder
- It is not recommended to do a Portable Install in the Program Files folder due to Windows restrictions on this folder.
- Portable Install can be done on an external drive/USB memory to be able to use it on multiple computers.
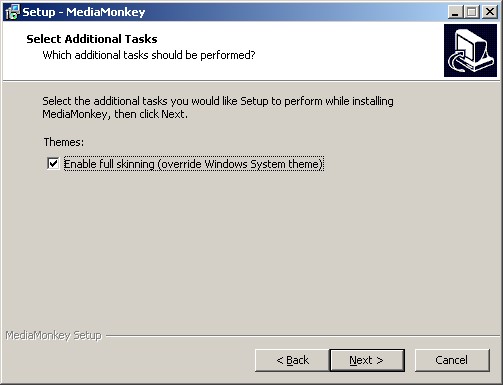
Installation step 4
- Additional Tasks, allows you to disable skinning which will use the Windows Systems theme.
Installation step 5 - Installing, will show you the installation progress.

Installation step 6 - Completing the Setup Wizard, will allow you to open the Readme and/or launch MediaMonkey.


Notes
- You can subscribe to the MediaMonkey newsletter to be informed when a new release becomes available.
- The debug version of MediaMonkey can be installed right over the existing installation and be run the same way.
- Skinning can be enabled again under Tools > Options > Skins (requires a restart of MediaMonkey.)
- If you receive errors during installation that a file can't be replaced or a Code 5 error it is recommended to restart the PC and then start the installation of MediaMonkey again.
- Under certain circumstances MediaMonkey may fail to start, see KnowledgeBase.
Related Information
Next: Browse the Library
| English |
Additional Help: Knowledge Base | Forum | MediaMonkey Support | MediaMonkey for Android Help | MediaMonkey 5 Help | MediaMonkey 4 Help