Installing MediaMonkey
Help > Getting Started > Installing MediaMonkey
Downloading
You can always download the latest version of MediaMonkey from the Download page. This is for both Gold License and Free version users.
- Latest stable release: Download Page
- Latest beta release (when available): Beta Forum
- Debug version: How to report a bug
- Old versions: KnowledgeBase
Installing
After downloading MediaMonkey double click on the downloaded installer to start the install process. This process is the same for a first time install or for installing an upgrade.
Setup Wizard steps:
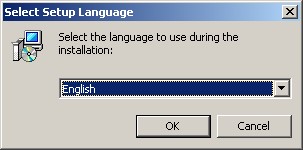
- Language, after starting installation the first window will ask what language should be used.
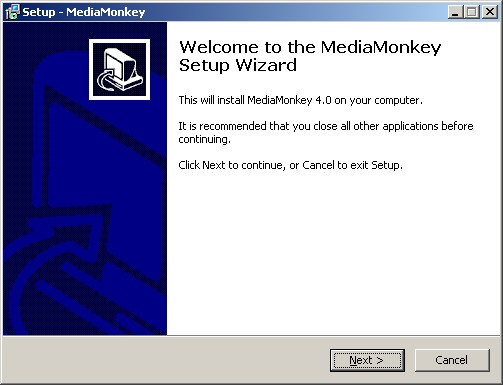
Installation step 1 - The next window will welcome you to the Setup Wizard.
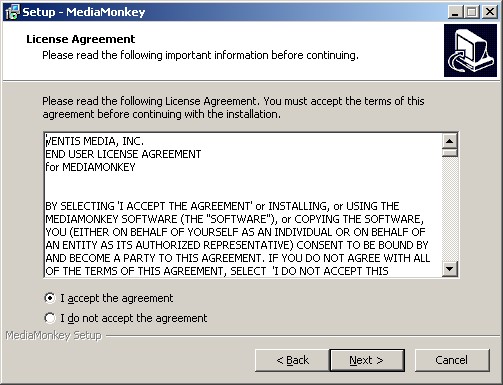
Installation step 2 - License Agreement, read and select I to continue.
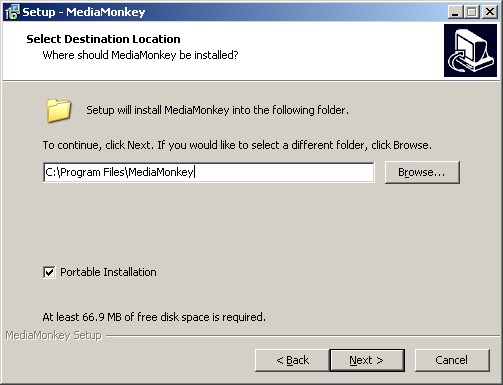
Installation step 3 - Destination Folder, allows you to choose to do a Portable Install instead of a regular install and define in which folder MediaMonkey should be installed.
- Portable Install will keep all MediaMonkey's files including the registry, settings, database and Addons, Podcasts, Virtual CD, Previews, Temp and Cache folders in the MediaMonkey install folder. These files and folders can be found in the Portable folder in the folder where MediaMonkey is installed.
- It is not recommended to do a Portable Install in the Program Files folder due to Windows restrictions on this folder.
- Portable Install can be done on an external drive/USB memory to be able to use it on multiple computers.
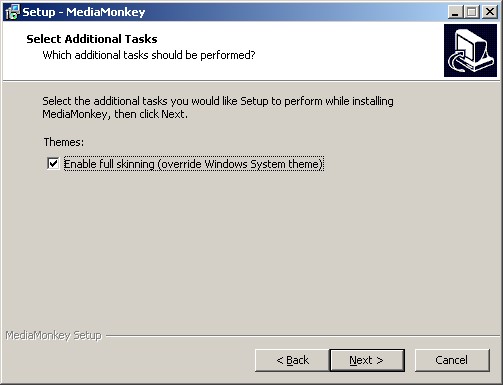
Installation step 4
- Additional Tasks, allows you to disable skinning which will use the Windows Systems theme.
Installation step 5 - Installing, will show you the installation progress.

Installation step 6 - Completing the Setup Wizard, will allow you to open the Readme and/or launch MediaMonkey.


Notes
- You can subscribe to the MediaMonkey newsletter to be informed when a new release becomes available.
- The debug version of MediaMonkey can be installed right over the existing installation and be run the same way.
- Skinning can be enabled again under Tools > Options > Skins (requires a restart of MediaMonkey.)
- If you receive errors during installation that a file can't be replaced or a Code 5 error it is recommended to restart the PC and then start the installation of MediaMonkey again.
- Under certain circumstances MediaMonkey may fail to start, see KnowledgeBase.
- For the location of the database and settings files for a normal install see KnowledgeBase.
Related Information
Previous: Getting_Started
Next: Browse the Library
| English |
Additional Help: Knowledge Base | Forum | MediaMonkey Support | MediaMonkey for Android Help | MediaMonkey 5 Help | MediaMonkey 4 Help