Cataloguing CDs to the Library
Wiki Home > MediaMonkey 2024 Help > Adding Media Files & CDs > Cataloguing CDs to the Library
Introduction
MediaMonkey can catalog CDs (Audio CDs or data CDs containing Audio Files), even if you don't Rip the CD contents to your hard drive. When cataloging a CD, the CD will need to be inserted for playback, if you want to play the CD's tracks without the CD inserted you'll need to Rip the CD instead.
Catalog a CD
- Insert the Audio CD into your PC.
- MediaMonkey will lookup the Audio CD based on you settings under Tools > Options > Metadata lookup from the Main Menu by changing the Audio CD metadata lookup settings. If multiple matches for your Audio CD are found MediaMonkey will prompt which one you'd like to use (only shown in case of multiple matches).
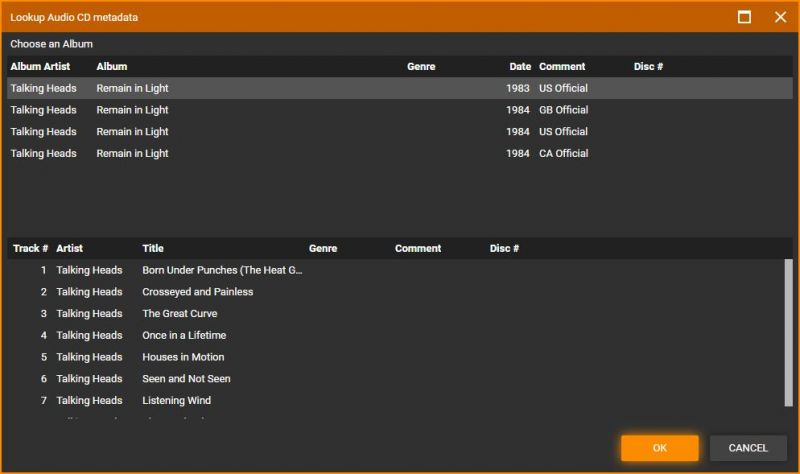
Audio CD Lookup Confirmation - The Audio CD should appear in the Media tree, but is also available in Folders node in the Media Tree.
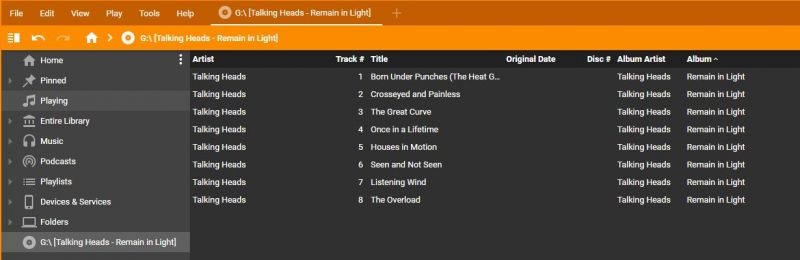
Audio CD shown in MediaMonkey - When you select the CD in the Media Tree you can edit the files tags prior to cataloguing the CD.
- Use File > Add/Rescan Files from the Main Menu to scan the CD into the Library.


The CD will be catalogued in the library. CDs that have been added in this manner will appear in the Collection (like Music) > Location node of the Library, while the files on a CD will also be browsable via other nodes such as Album or Artist. Note that the files from the CD will appear greyed out if the CD is not inserted into the PC. If you want to access the files on a CD while the CD is not inserted you'll need to Rip the CD instead.
| English |
Additional Help: Knowledge Base | Forum | MediaMonkey Support | MediaMonkey for Android Help | MediaMonkey 5 Help | MediaMonkey 4 Help